In this tutorial i want to show how to make some bases for your models. Bases are a very important part of every miniature and often miserably treated. A miniature can be as beautiful as possible, if the base does not look good its simply not as good as it can be. To make a good base costs not so much time as generally assumed.
In diesem Tutorial möchte ich euch zeigen wie ich die Bases meiner Space Wolfes gestalte. Bases sind wie ich finde ein wichtiger Teil einer Miniatur und werden allzu oft leider etwas stiefmütterlich behandelt. So ist es oft so dass die Miniatur nicht so gut aussieht wie sie es mit einer schön gestalteten Base könnte. Und eine akzeptable Base zu gestalten kostet nicht so viel Zeit wie man glaubt.
First you need some material called “Styrodur”. I had a look at wikipedia, and they state that this are the names for the material in other countries. In Germany you can buy it in tool stores in the area for insulating material. May be there is some longer search necessary because in germany not every store offer the kind of material i use. Styropor, Styrodur (Germany), Austrotherm (Austria), Sagex (Swiss), Floormate, Jackodur, Lustron, Roofmate, Styrofoam (USA), Telgopor (Spanish) .
Zuerst einmal müsst ihr euch etwas Styrodur besorgen. In der Regel sollte ein gut sortierter Baumarkt in der Abteilung für Dämmmaterialien etwas vergleichbares vorrätig haben. Ihr müsst nur darauf achten dass das Material nicht krümelt.
Step 1:
Draw some circles with roughly the size of the base onto the styrofoam.
Zeichnet so viele Kreise wie ihr Bases herstellen wollt auf die Oberfläche des Styropors.
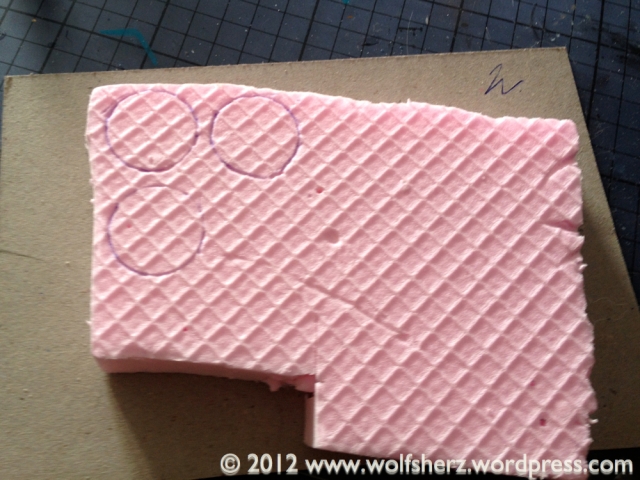
Step 2:
Cut out the rough size of the base from the material.
Schneidet nun mit einem Cutter die Umrisse der Bases aus dem Material.

Part 3:
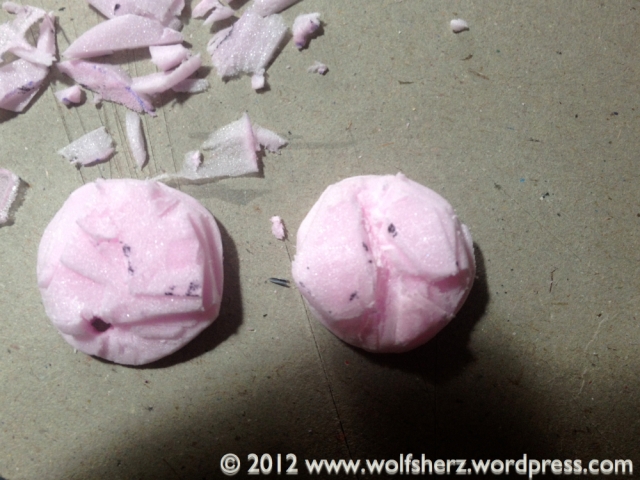
Mark the position where the figures shall be positioned.
Nun markiert ihr am besten die Position der Figur, um nicht zuviel wegzuschneiden.

Part 4:
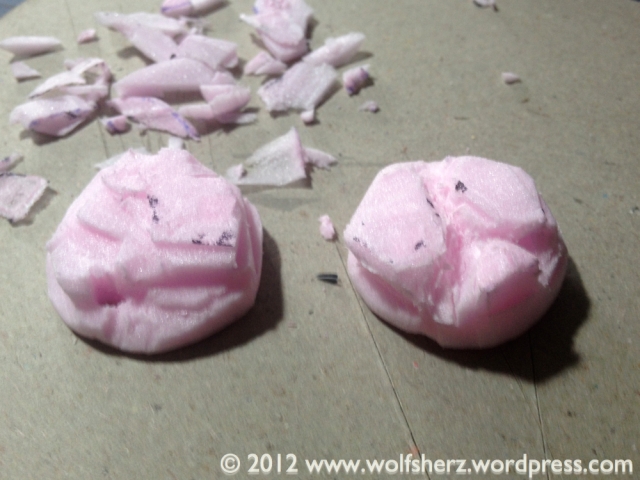
Now you need to prepare the surface structure of the base.
Nun müsst ihr die spätere Oberflächenstruktur aus dem Styrodur schneiden.
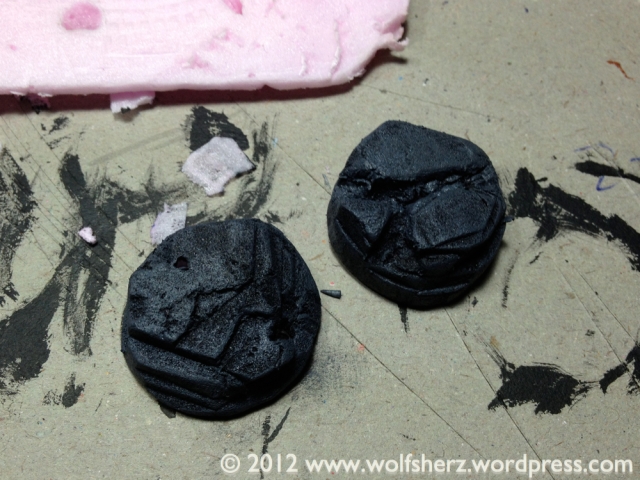
Part 5:
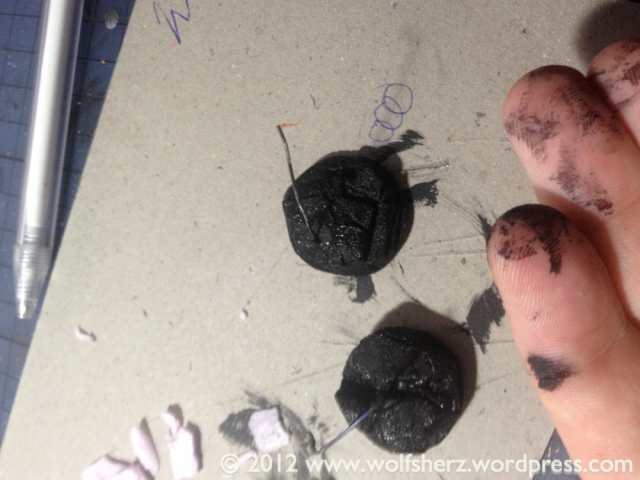
Now paint the surface with a base coat of chaos black.
Nun grundieren wir das ganze erst einmal mit einer dunklen Farbe. In diesem Fall ist das noch Chaos Black.
Part 6:
Do a rough work with a dark grey over the black base coat. Its ok if you only make a rough dry brush because the grey is the real base coat color. Add some brown at the parts where you later want to add some grass.
Anschließend solltet ihr die Oberfläche mit einem dunklen Grauton grob trockenbürsten. Hier könnt ihr durchaus etwas gröber arbeiten da dies die eigentliche Basisfarbe darstellt. Fügt noch etwas braun an die Stellen hinzu an der ihr später etwas Gras hinzufügen wollt.
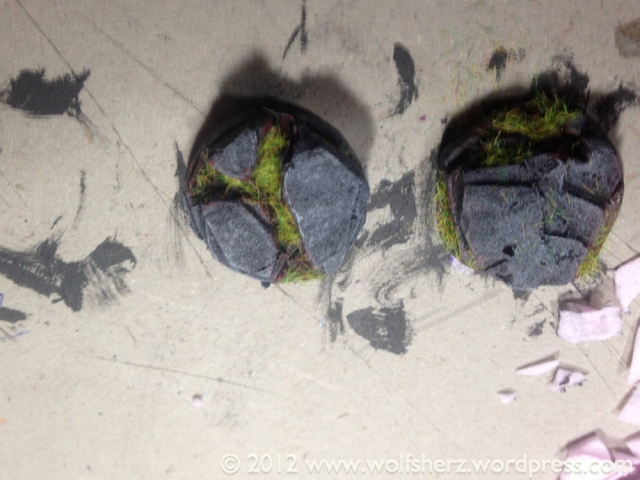
Part 7:
Do some light dry brushing with a lighter grey and some highlights with white on appropriate parts. Adds some grass to the parts that you have painted brown. I use some simple model grass. Gw also offers some good static grass.
Nun könnt ihr das ganze mit einem helleren Grauton an den erhabeneren Stellen vorsichtig trockenbürsten. Fügt nun an die im vorherigen Schritt braun angemalten Stellen etwas Gras hinzu.
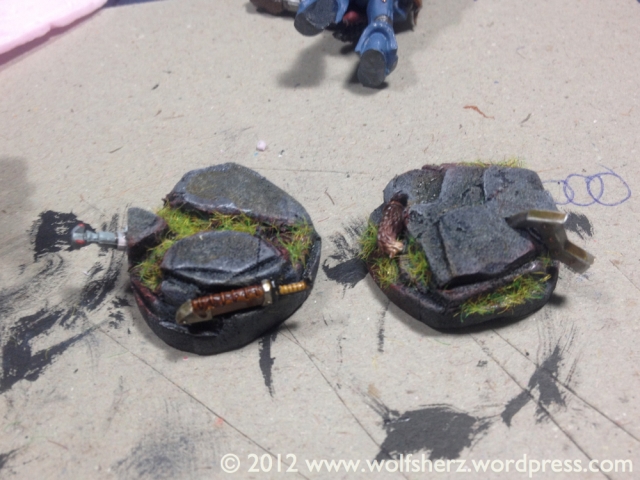
Part 8:
Add some highlights with white or a very light grey at highest level of the base.
The following actions are optional. I applied some washed ( Nuln Oil and Athonian Camoshade ) to make the balk more used. I also added some small details and applied the same washes to them.
Fügt nun an die erhabensten Stellen etwas Weis oder sehr helles Grau hinzu. Der folgende Schritt ist nicht unbedingt notwendig, rundet das Ergebnis jedoch ab. Ich habe verschiedene Stellen mit ein paar Washes bearbeitet ( Nuln Oil und Athonian Camoshade ) .
Finish:
The whole process of making two bases or more should only take two ours, depending on your painting speed and distractions ( in my position three cats who wanna play ) . If i would improve something its the type of static grass. But currently i don’t wanna change that for my wolves because the other bases have the same grass.
I hope that you find the tutorial useful. Be free to ask if i missed something or is not clear in your opinion.
Alles in allem sollte das herstellen von zwei Bases etwa zwei Stunden in Anspruch nehmen, je nachdem wie schnell ihr malt oder wie fein ihr die Highlights setzen wollt. Wenn ich etwas anders machen würde wäre es die Art des Grases. Hier würde ich nicht mehr das Modellbaugras nehmen, sondern z.b etwas wie das Gras von Gw. Da ich die Bases jedoch gleich wie meine vorherigen gestalten möchte bleibt erstmal alles in allem beim alten.
Ich hoffe dass euch das Tutorial gefallen hat. Bei Fragen oder Unklarheiten stehe ich natürlich gerne mit Rat zur Verfügung.

Reblogged this on Miniature Musings of a Bear and commented:
Always fun to see how others do their bases
hi docbungle
Thanks for your reblog ! If you have some suggestions to improve something i am glad to hear them
Wolfsherz
Excellent stuff, this is a great idea, I’ve just got hold of some Welsh slate for my Welsh-themed Space Marines, but these could be a great (and much lighter) alternative!
hi Kieran
Sorry for my late answer, but i was a little bit busy during the holidays. Hope you’re days were fine !
Glad you like it ! Keep me updated how it turned out
Wolfsherz